Mireille Liong Curl Definition Challenge, America's Next Natural Model accessories, styles, scarves, fun, unique 0

The Maroon Pangi
I did a little research on the Maroon Pangi. I learned that the word ‘pangi’ means cloth and ‘Maroon’ is a group of Surinamese people who are descendants of escaped slaves. The word ‘maroon’ comes from the Spanish word cimarrón which can be translated as ‘runaway living on mountain top.’ I also watched Mireille’s YouTube video titled ‘Simple wrap with a Pangi, a traditional Maroon wrap.’ I enjoyed the video. My family is from Nigeria and we also use head wraps to keep cool in our hot, HOT weather!
For the shoot, I decided to highlight the pattern and thickness of the material. Thick scarves allow you to create bold, well-formed wraps. For the first wrap, I folded the Pangi in half horizontally. I then placed the center of the wrap at the front of my head and crossed on end over the other at the back. I pulled it tight but I did not tie a knot. I then brought the ends of the wrap to the front of my head and tied a knot. Lastly, I tucked the loosed ends into the knot to create the look seen (photos 1-3).
For the next look, I created a ‘crown’ style. I folded the wrap horizontally with the bold green pattern facing up. I then placed the center of the wrap at the front of my head. I crossed the ends over at the back. Again, I did not tie a not. I pulled the wrap tightly and brought the ends to the front. I then tied a knot and tucked the ends again. I then frilled the edges of the scarf so that they would stand up (photos 4-5).
The Fro-hawk
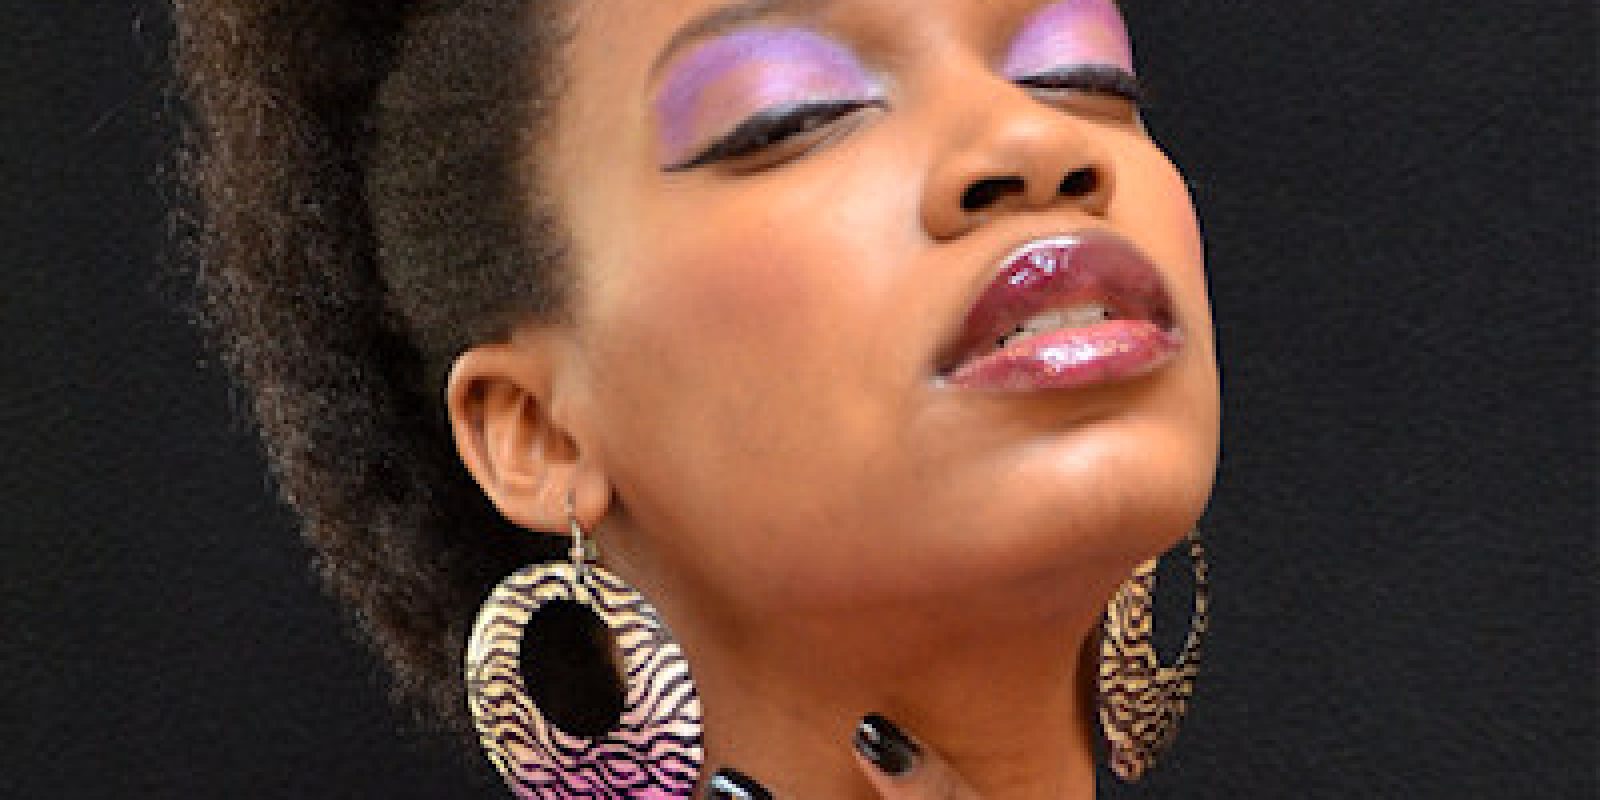
I used the light Curl Keeper and a modified version of the shingling method to define my curls. This product worked great! I went natural in 2009 and I have NEVER been able to get the tight, defined curls that I need for a fro-hawk. I always see pictures of fro-hawks at the beauty store and I’m like ‘man! I wish I could do that with my hair!’ I am absolutely thrilled that after FOUR years I have found a product that allows me to create a fro-hawk! This product did the trick!
Shingling method:
- Wet hair using a spray bottle. You want your hair to be thoroughly wet from root to tip. Gently comb your hair out to make sure that there are no knots or tangles. Apply a bit of GN.com shea butter to help detangle your hair.
- Apply a golf ball sized amount of GN.com light Curl Keeper. Work the product into your hair with your hands. Be sure that the product is applied evenly throughout your hair from root to tip.
- Wet your hair again. You don’t want to add too much more water. Three or four more squirts should do.
- Section your hair into four sections but part off a section at the nape of the neck. This section should be about one inch thick. Comb the product through your hair using a rat tail comb. Continue to comb through your hair section by section until all sections are complete.
- Smoothen the shafts of your hair by running small sections of your hair through your index and middle finger.
- Allow hair to dry. You may want to sit under a dryer. I don’t have a dryer so I allowed my hair to air dry.
- To loosen your curls, pull out individual sections of your hair and blow them with a blow dryer using the nozzle attachment. I wanted to keep my curls relatively tight for the fro-hawk so I only loosened the front of my hair.
Fro-hawk:
- Apply GN.com herbal styling gel to edges.
- Brush edges up and pin hair back about an inch and a half on each side.
- Style fro-hawk as desired. I pulled the front of my fro-hawk a bit to the left.
The beaded ponytail holder
I love the pattern of the beaded ponytail holder. It’s colorful and unique! To create the style in the photos, I made buns at the top and bottom of my head. I then secured the lovely beaded ponytail holder around the top bun. Because my hair is so thick, I extended the ponytail holder using a scrunchi so that the ponytail holder would be so tight that it sunk under the bun.
The shoot
This challenge was a lot of work and I was honestly intimidated by it at first. It took a bit of brainstorming to decide on which looks to create, what backgrounds to use. I’m glad that my photographer and I used a black background. It came out really nice! The hair light really helped define my hair against the black background.
Photographer: Frank Coco
Stylist & Makeup: Lydia Onimo
{gallery}01-annm2013/ch6/lydia{/gallery}
To give you voters a chance to create your own perfect curl definition, the Curly Twist Out Hair Milk or the Curl Keeper are on sale and so is the Ponytail Holder. So check the Napshop now!


