Alvin Curl Definition Challenge, America's Next Natural Model headwraps, twists, ponytails 0

When Mireille said that this was the hardest challenge, she definitely was right! Showcasing 3 specific looks in one photo shoot as well as switching up the look and feel of the each accessory or hairstyle was definitely tough.
Maroon Pangi’s Headwrap
The maroon pangi’s headwrap, I believe was the hardest shoot of all. My scarf had flowers and tassels that made the scarf hard to fold, bend, and twist. After a while of trying to twist and turn the scarf around my head (for several hours), which wasn’t working, I decided to take a new approach. I looked up the maroon pangi on youtube for some inspiration and found our very own Mirielle Liong!.
This tutorial helped me figure out how to manipulate the scarf better so I decided to flat twist the hanging tassels, and by wrapping the flowers inside, it helped the scarf stay tighter on my head. For this look I decided to do a “regal headwrap”, which I realized looks actually similar to the “Souriyah Headwrap”. You place the scarf to the back of your head leaving a gap by your forehead. Next you take the two “arms” of the scarf and you wrap it to the opposite side, leaving a triangle angle to the front. Once you have very little scarf left you roll the remainder into the top of the scarf. Then Voila!, you got an elegant head wrap! The head wrap colors were not entirely my favorite only because the colors felt a bit over powering (and I personally don’t think orange is my color) Nonetheless I tried my best to work it as best as I could!
PonyTail holder
Since my hair isn’t long enough, and has intense shrinkage for the ponytail holder it was also tough to use but, like any accessory you would want to be able to use it multiple ways. For those with longer hair they can simply put it into a ponytail, but since my hair is short I decided to spice it up and make a pompadour with a puff using the ponytail holder around the top part of my puff. Instead of placing it to the middle like a headband I put it to the side of the puff to give it a little extra edge.
Twist out
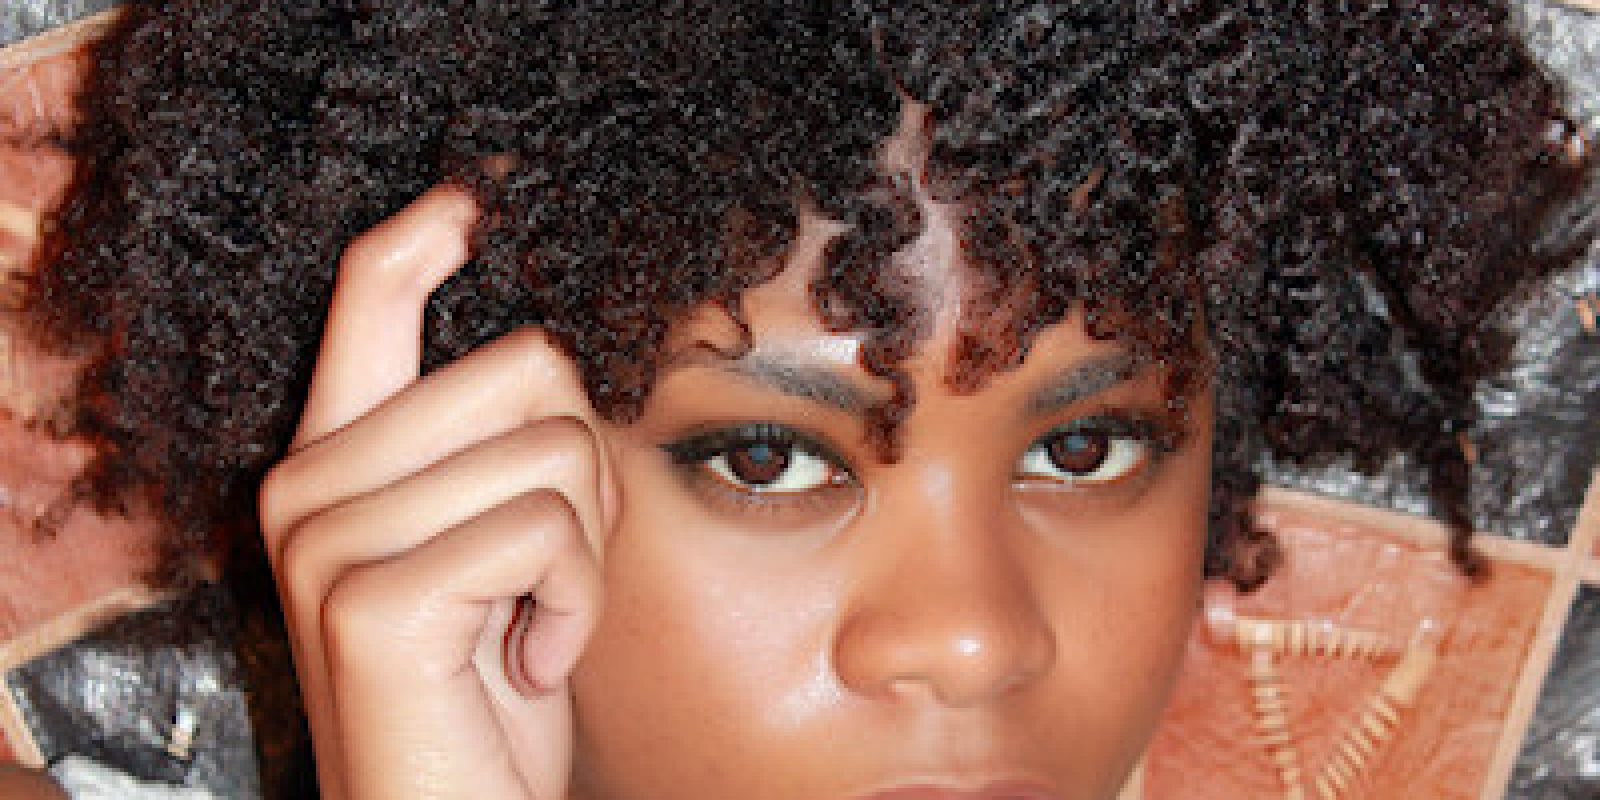
Lastly my Twist out I used the going natural “Curly Twist Out Hair Milk” and “Detox Conditioner” the night before the shoot. “Detox Conditioner” left my hair squeaky clean but also still hydrated, and I used it as a deep conditioner. Over the “Curly Twist out Hair Milk”, I put the Curl Keeper which worked like gel to hold and instantly defined my curls. I decided to do a twist out because the shingling method, I’ve done before and resulted in tons of single stranded knots. I next used the “Curly Twist Out” Hair Milk, which the next day I was astonished held my curls perfectly! I also used the curl keeper, which instantly defined my curls without making it crispy but held like a gel. The only thing I wish there was in this product line was a product that such as a hair butter for those curlies like me whose hair needs an intense amount of moisture or living in colder climates but it is a great summer product to not weigh down curls with too much grease.
I believe that “Curly Twist out Hair Milk”, for setting very twists (since I noticed the sleekness of the twists once doing my hair that night). The “Detox Conditioner” is great to use for cleansing the scalp without drying out the hair and I left it in as a deep conditioner. The “Curl Keeper” is a great lightweight product I believe to use as a non crunchy gel as well as a wash and go for instant curls. My inspiration for the shoot was wearing spring colors to represent the upcoming weather and now that it is getting warmer we can let loose our protective styling and let our fros free!
{gallery}01-annm2013/ch6/farah{/gallery}
To give you voters a chance to create your own perfect curl definition, the Curly Twist Out Hair Milk or the Curl Keeper are on sale and so is the Ponytail Holder. So check the Napshop now!


